


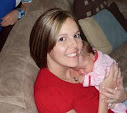
Lalaloopsy Birthday Party Theme. Our little Luci turned 4 this year, so we had a LalaLoopsy themed birthday party for her.

These invitations are available in my shop, fully personalized with a matching thank you card here.


First of all, I invested some major love in my local Dollar Tree. The tissue puffs hanging above the table in the picture above are created from tissue paper (DT find) and you can get an easy tutorial here. Martha Stewart sells these pom poms in craft stores for like $15 bucks for a 5-pk and believe me, they are not any easier, all she has done is put together coordinating colors of tulle, cut the ends and 'pre' fold it half-done so you have to fold it accordian style anyway. Save $10 and do it yourself. Trust me.
I also took some plates and put black circles on them to create faux buttons, then strung them together like garland. This was so simple and easy I made tons of plate-garland just because I could. The time-staking decor was the trees and clouds. I hand cut these shapes from cardboard I found laying in my garage. Then I painted green, brown, white, etc, and drew the sewing marks around all of the edges in permanent marker. Super cute way to turn the room into Lalaloopsy Land!

 Outside I fashioned a party table consisting of bottled water with cute little personalized water bottle labels, striped straws I ordered from a fellow Etsian- they were too cute NOT to have, and some flavored water packets. This was so easy and fun for the kids to pick what flavor they wanted in their drink, and no yucky soda!
Also on the table I put the jewelry making craft (more on that later), the kids' goody bags- again with personalized goody bag toppers cuz it has to be personalized for that really cute touch....and last but not least some striped candy canes that I stumbled upon from Cracker Barrel. YUM!

For games and activities, I had so much fun getting creative! We played a 'button hunt' game, where I had hidden TONS of buttons (printed from my computer and cut out while watching tv) all over my yard for the kids to find.

Then they played a thread toss game and just tossed old-fashioned thread spools into some cute Lalaloopsy buckets I created from dollar tree bins. I also created personalized game cards for each game so the kids knew where to go when each activity started.

 The kids had a blast playing the games, and most took several turns, so this was definitely not a short party. :)
 Then lastly, we did a craft, which we took inside just to avoid a breeze we had going on. The craft was super simple and so fun! We made the bottle cap necklaces (and keychains for the boys) that kids love.
  I ordered the bottle caps and clear top stickers from here, and then ordered the ribbon necklaces from here but the necklaces came from China and took several weeks, so plan ahead if you're doing those. I chose her anyway because she 1) had a low price and 2) let you choose your own colors- which nobody does!! I mean, who wants brown ribbon necklaces for a lalaloopsy party?? Then I printed 1" circle designs- these can be anything you want- so I made mine lalaloopsy, superheroes (for the boys), phineas and ferb, and monster high. Covered all my bases. ;)

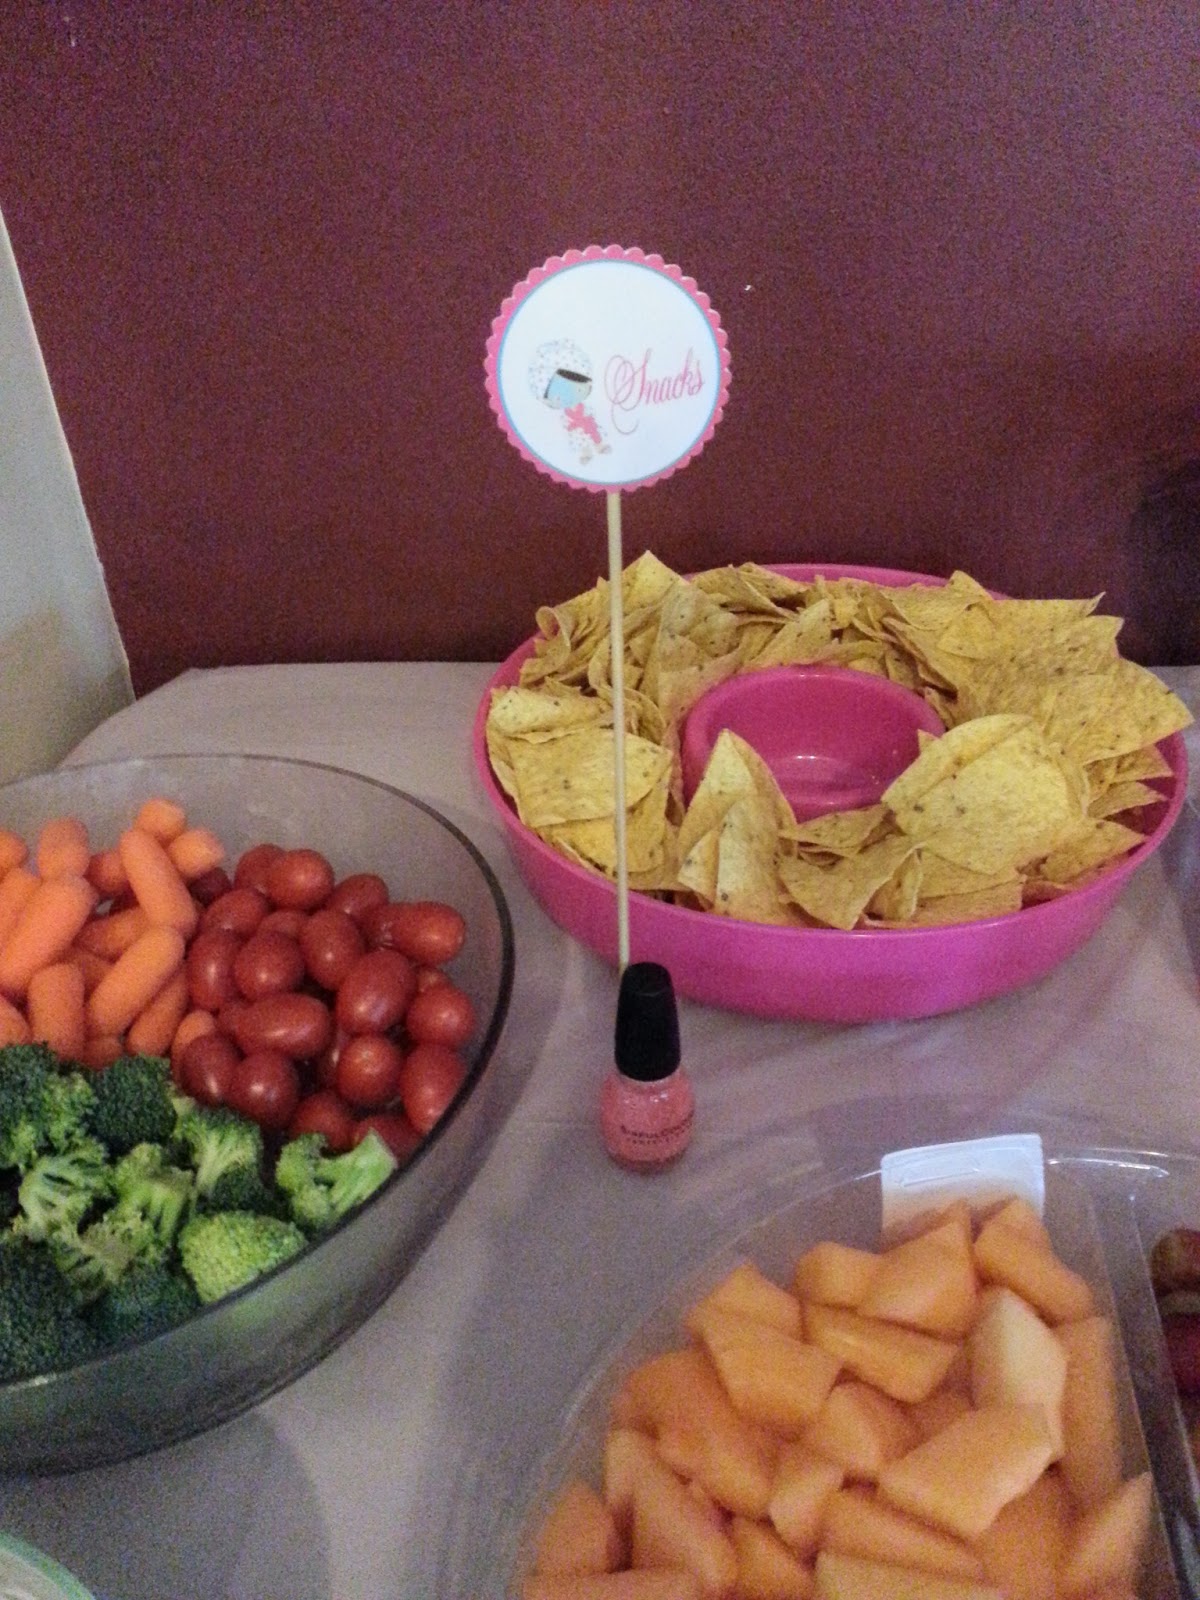
 Whew, so crafts and games were done, and we made it to cake time!! The hubby decided- after a mild cake disaster with our usual cake lady, and replacement cakes costing $85-130 (this is edible birthday cake, not wedding cake...I mean, 80+ bucks for something I'm eating?!?)- that he was going to go all Cake Boss on this party and he actually did an awesome job. Above is his first cake- yes, first ever cake....with homemade marshmallow fondant. I contributed a little and made some button-topped cupcakes. And yes, his cake was WAY yummier. By way of other party food- which was eaten pretty much throughout the whole party- I kept it pretty simple because I was tuckered out by this point. We had a veggie tray, chips & dip, chips & salsa, fruit, a meat-cheese-cracker tray, and drinks.

I also added some little lalaloopsy doll cutouts (available with a big poster pack here) and stuck them in some thread spools around the table for super cute decor!
 Finally, we opened presents, and Luci- although she is only four- got super excited about everything she opened but super shy when it came to doling out thank yous.....something to work on for next year! And of course, her party dress was a custom design sewn by our favorite embroidery shop Sawyer's Closet! Below you can see a closer shot of Luci's dress- and the cute bottle cap necklaces we made during the party!

Of course, we left clean up for Monday (because who wants to clean on a Sunday?!?) and patted ourselves on the back for a party well served. <3
Dont forget to check out the links above to get your own personalized printables to create a super cute Lalaloopsy party at an affordable Lalaloopsy price! ;)

 The kids had a blast playing the games, and most took several turns, so this was definitely not a short party. :)Then lastly, we did a craft, which we took inside just to avoid a breeze we had going on. The craft was super simple and so fun! We made the bottle cap necklaces (and keychains for the boys) that kids love.
  I ordered the bottle caps and clear top stickers from here, and then ordered the ribbon necklaces from here but the necklaces came from China and took several weeks, so plan ahead if you're doing those. I chose her anyway because she 1) had a low price and 2) let you choose your own colors- which nobody does!! I mean, who wants brown ribbon necklaces for a lalaloopsy party?? Then I printed 1" circle designs- these can be anything you want- so I made mine lalaloopsy, superheroes (for the boys), phineas and ferb, and monster high. Covered all my bases. ;)
 Whew, so crafts and games were done, and we made it to cake time!! The hubby decided- after a mild cake disaster with our usual cake lady, and replacement cakes costing $85-130 (this is edible birthday cake, not wedding cake...I mean, 80+ bucks for something I'm eating?!?)- that he was going to go all Cake Boss on this party and he actually did an awesome job. Above is his first cake- yes, first ever cake....with homemade marshmallow fondant. I contributed a little and made some button-topped cupcakes. And yes, his cake was WAY yummier. By way of other party food- which was eaten pretty much throughout the whole party- I kept it pretty simple because I was tuckered out by this point. We had a veggie tray, chips & dip, chips & salsa, fruit, a meat-cheese-cracker tray, and drinks.
I also added some little lalaloopsy doll cutouts (available with a big poster pack here) and stuck them in some thread spools around the table for super cute decor!


Dont forget to check out the links above to get your own personalized printables to create a super cute Lalaloopsy party at an affordable Lalaloopsy price! ;)


